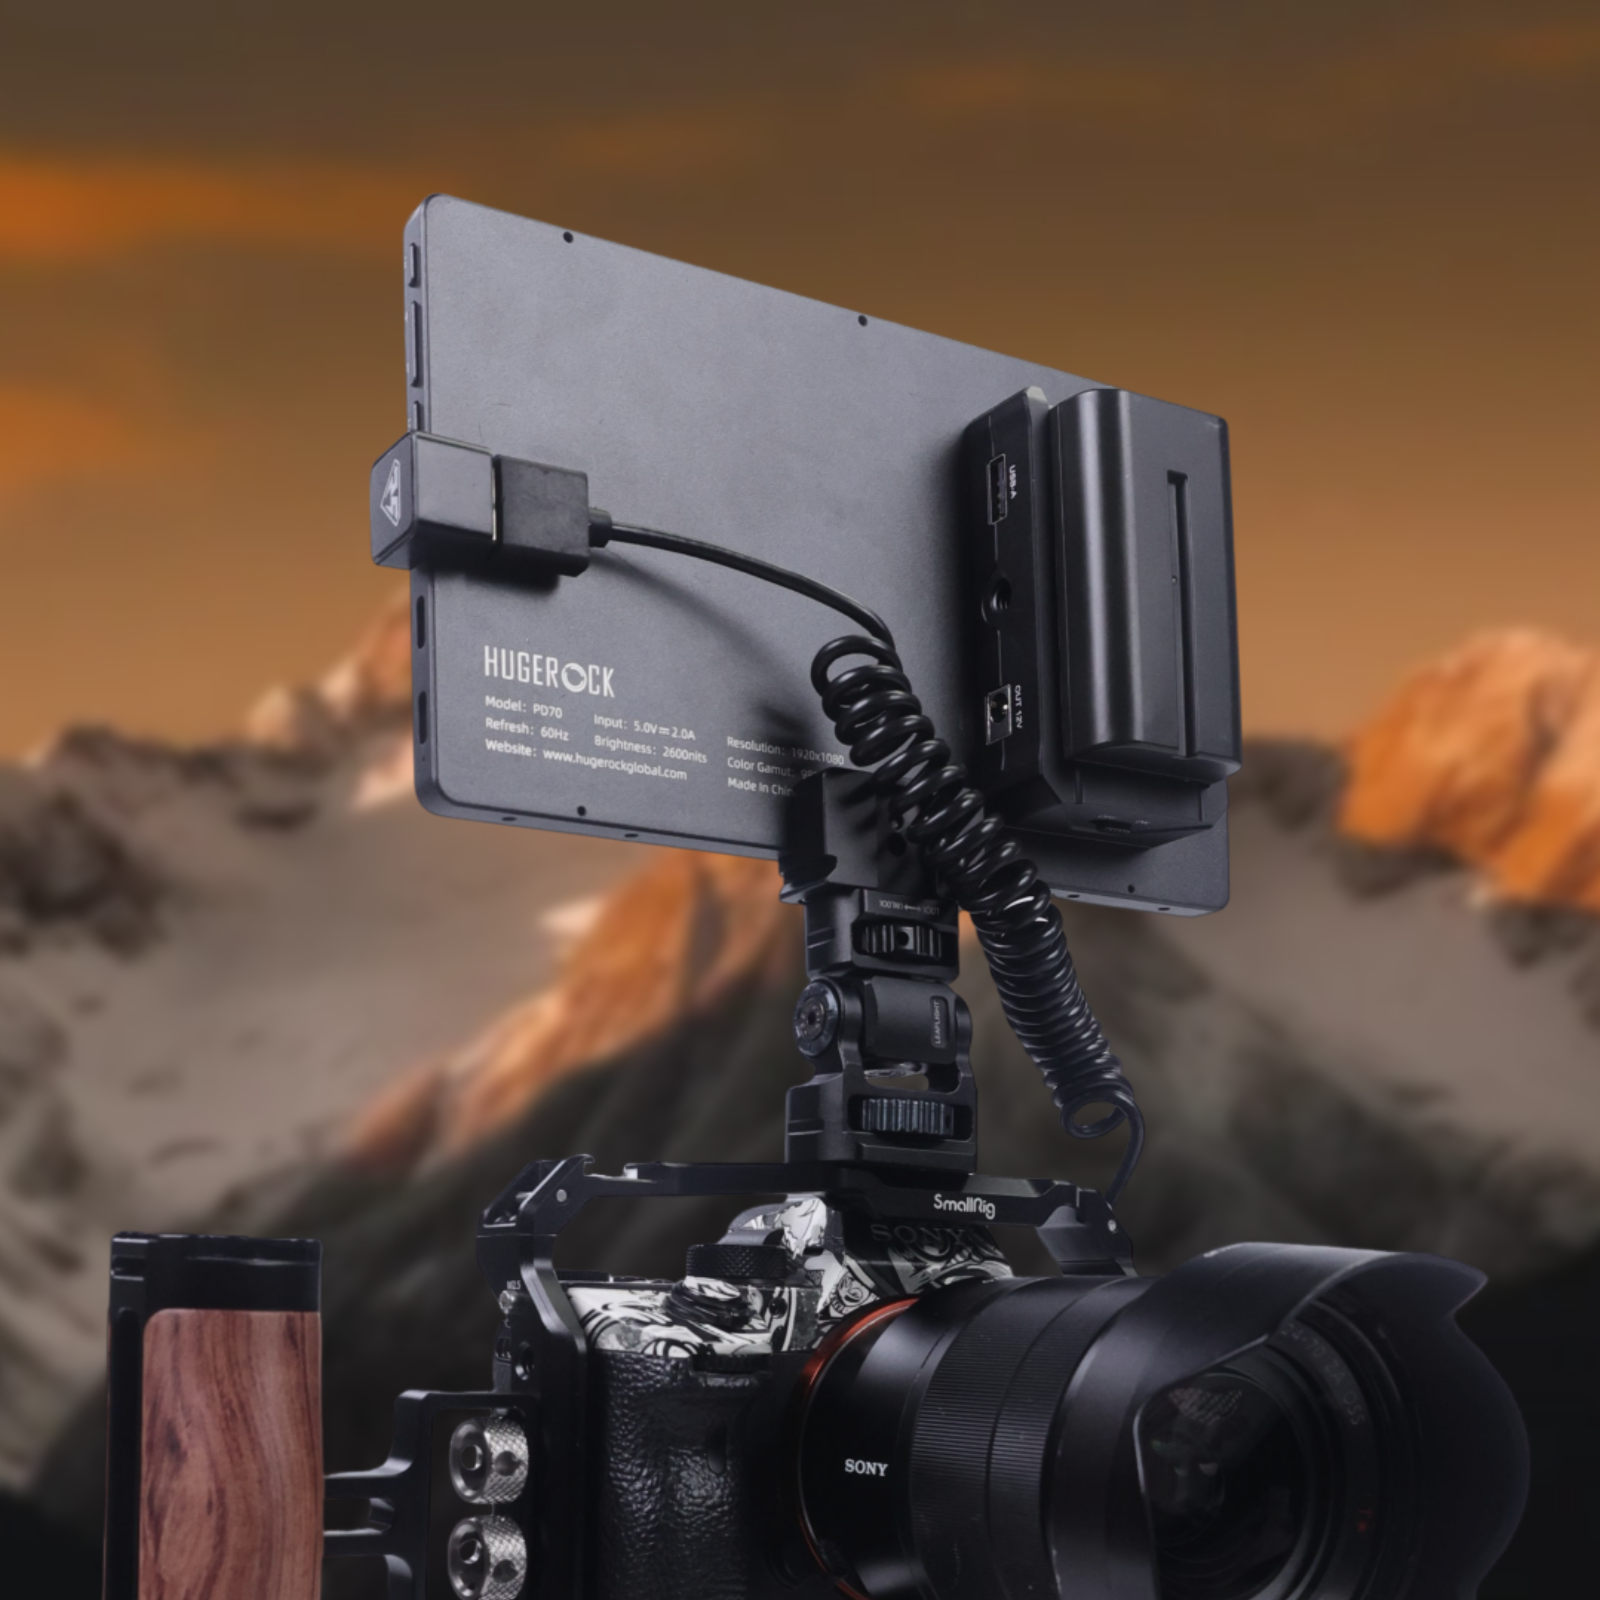
Hugerock PD70 Charging Dock for camera Charging accessories Easy Installation
I. Equipment List
Core Equipment
- New PD70 Monitor (with PING power supply port on the back)
- Custom-developed power supply board and dedicated battery
- Camera and supporting accessories, including a rabbit cage and a tripod
Standard Accessories
- Two PD70 dedicated mounting brackets for the top and bottom
- HDMI to Mini or Micro HDMI data cable, a spring-retractable cable designed for Nikon and Sony DSLR cameras
- Hot shoe component for connecting the PD70 bottom mount to the camera rabbit cage
Optional Extensions
- PD70 top-mount compatible lighting, powered by the power supply board
II. System Assembly Process
Basic Equipment Installation
- Secure the camera and rabbit cage, then mount them on the tripod to ensure stability.
Power Supply Board and PD70 Connection
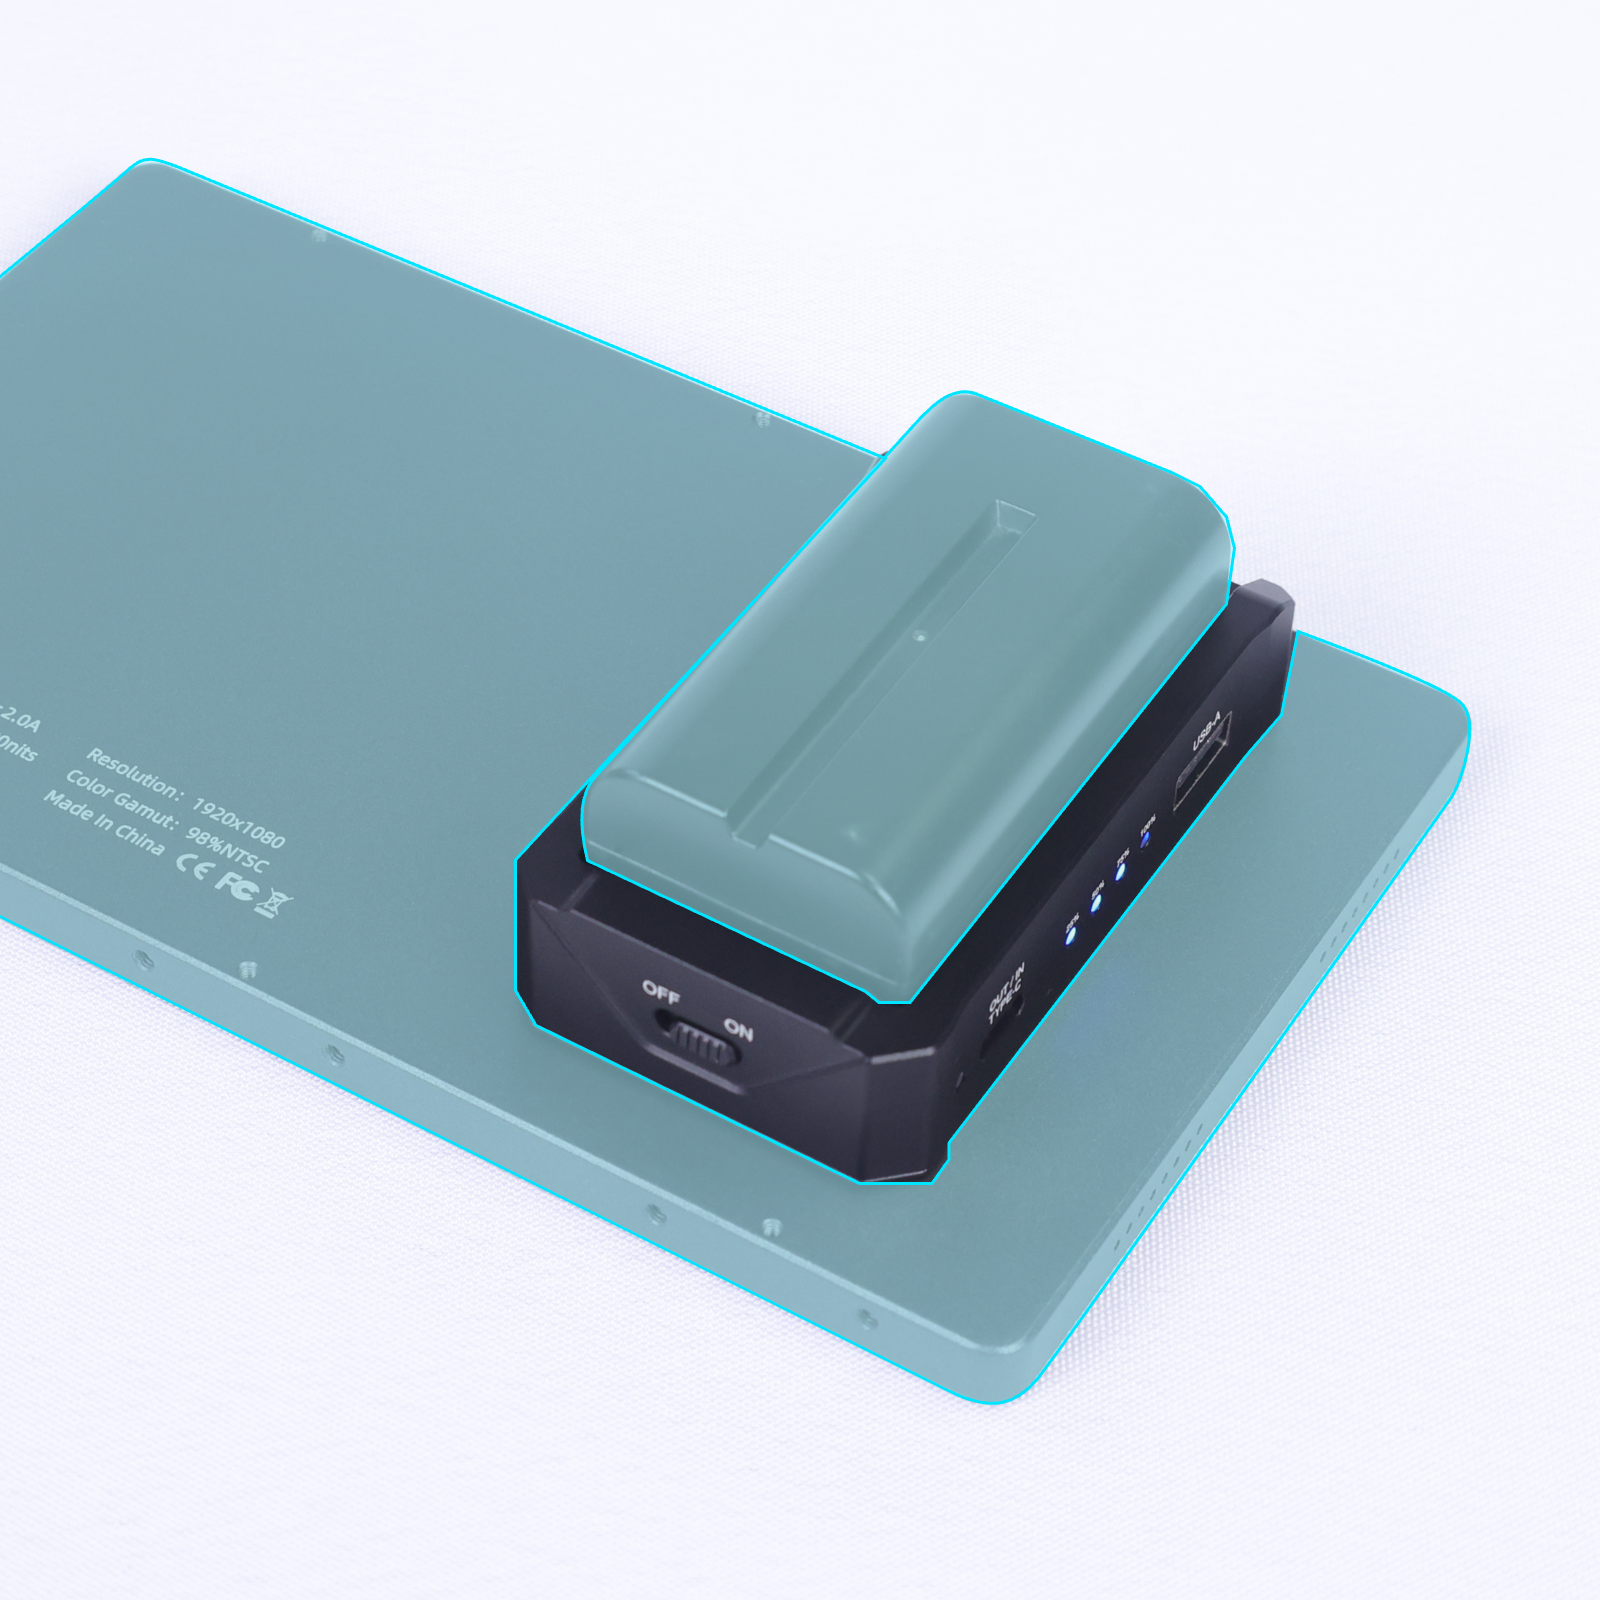
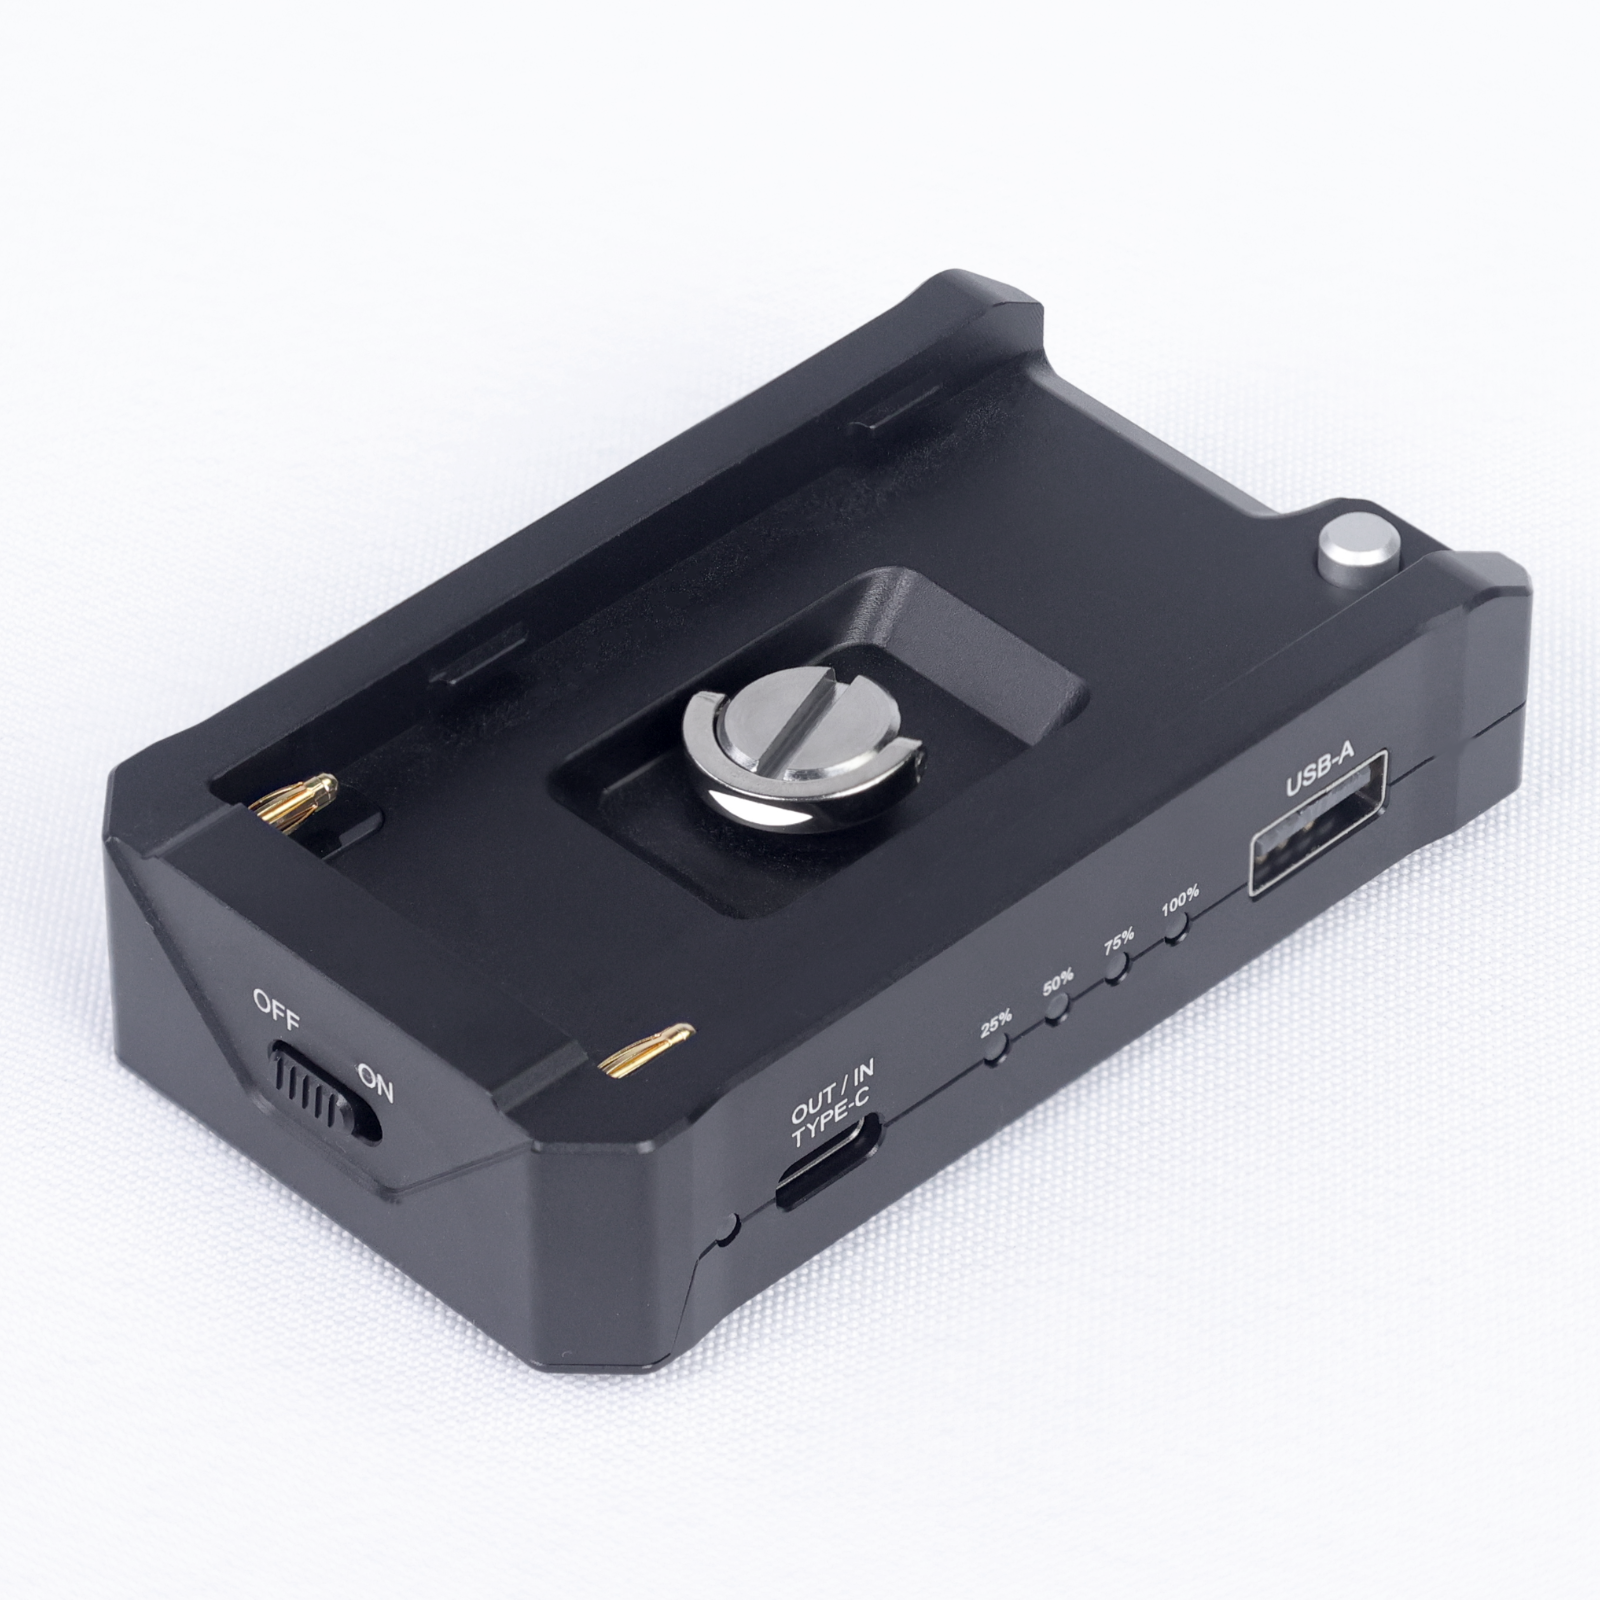
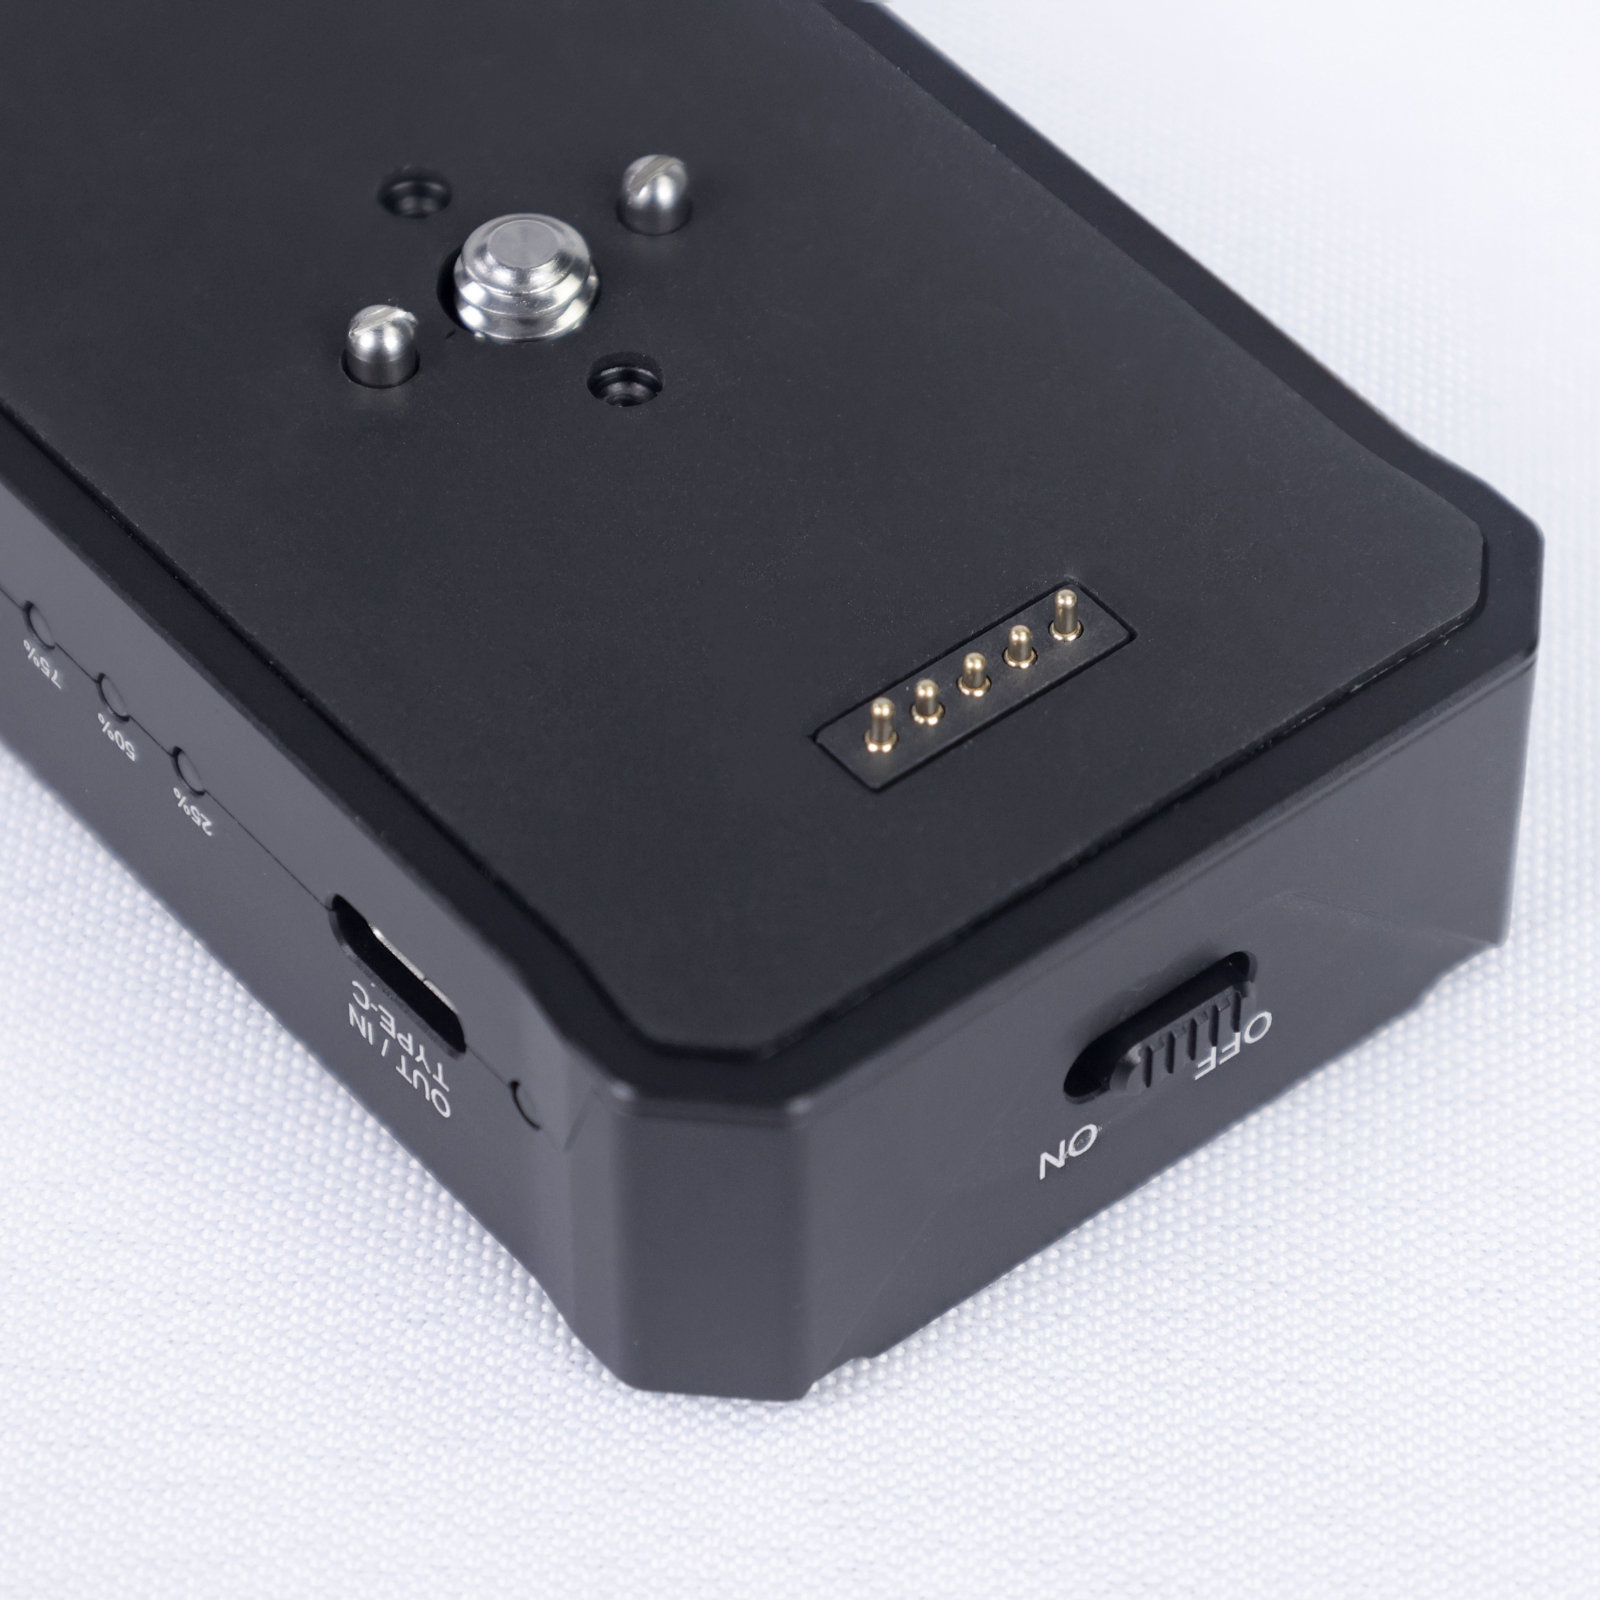
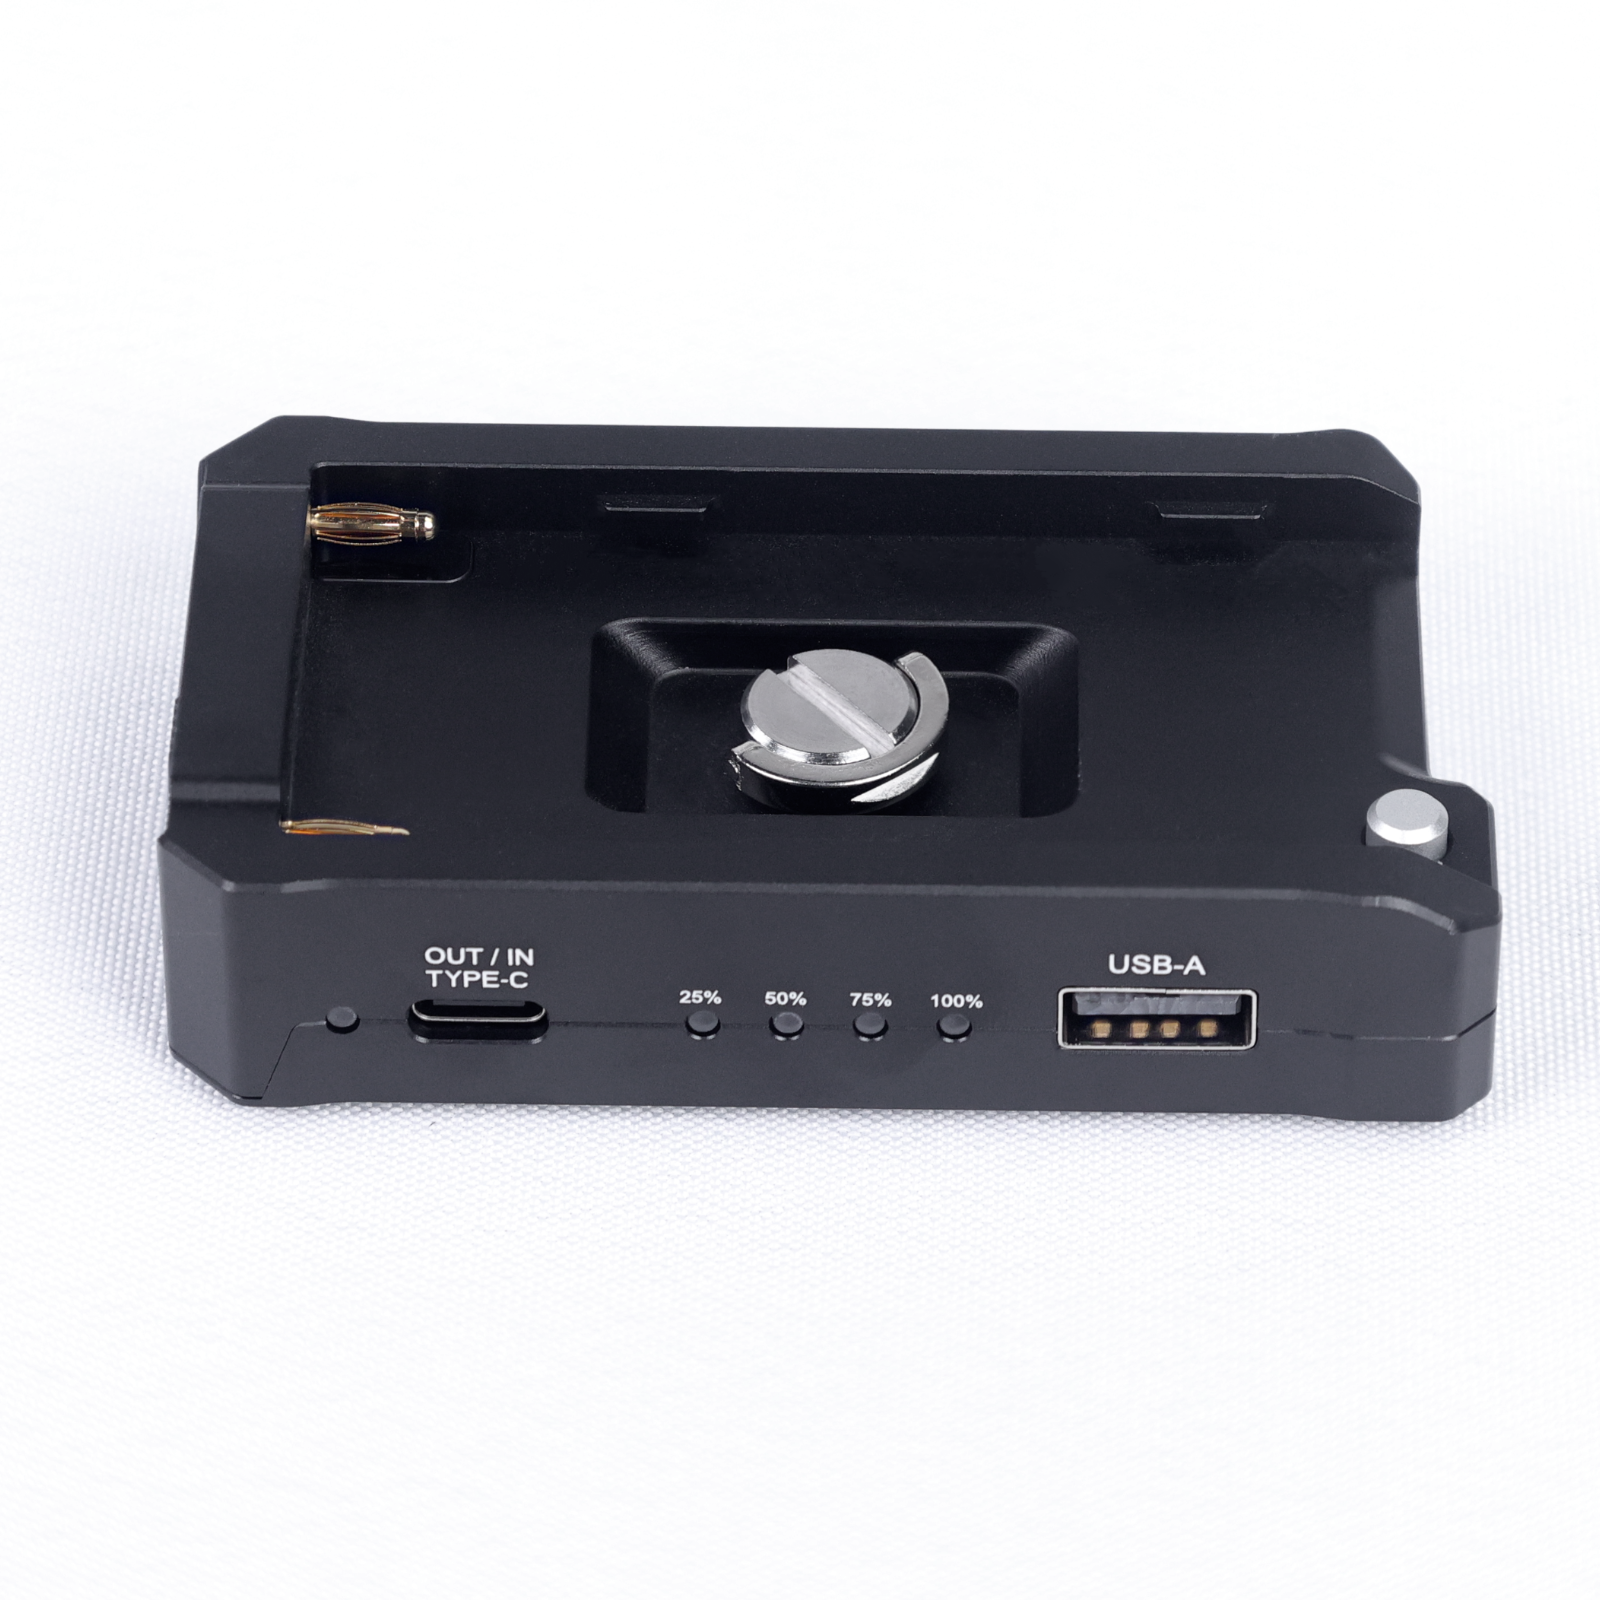
- Attach the power supply board to the PING power port on the back of the PD70, keeping the switch in the OFF position.
- Install the dedicated power supply battery, ensuring correct polarity.
PD70 Mount Installation
- Attach the two small mounting brackets to the top and bottom of the PD70:
- Top bracket: Provides space for expansion devices, such as lighting.
- Bottom bracket: Connects the PD70 to the camera rabbit cage via the hot shoe component, ensuring alignment between the PD70 and the camera.
Signal Cable Connection
- Connect one end of the HDMI to Mini or Micro HDMI cable to the PD70 HDMI port and the other end to the camera’s video output, selecting Mini or Micro based on the camera model.
System Startup and Verification
- Set the camera to monitor output mode, referring to the camera manual for instructions.
- Switch the power supply board to ON and verify that the PD70 screen displays the camera feed.
Expansion Functions (Optional)
- Mount the lighting on the PD70 top bracket and power it directly via the power supply board, ensuring power compatibility.
III. Safety Operating Guidelines
Power Management
- Before installing or replacing the battery, the power supply board switch must be in the OFF position to prevent short circuits.
- After completing all connections, switch the power supply board to ON to avoid malfunctions caused by live connections.
Interface Protection
- HDMI cables should be inserted and removed gently to prevent port deformation. The spring-retractable cable design minimizes cable strain.
Hot Shoe Fixing Check
- Ensure the PD70 bottom mount is securely attached to the camera rabbit cage to prevent loosening during filming.
IV. Troubleshooting Tips
No Signal Output
- Verify if the camera is set to monitor output mode.
- Ensure both ends of the HDMI cable are securely plugged in.
- Restart the power supply board by switching it OFF and then ON.
Power Supply Issues
- Check the battery installation direction.
- Confirm that the power supply board’s contact points with the PD70 are clean.
Customer Reviews
Which one should you choose?
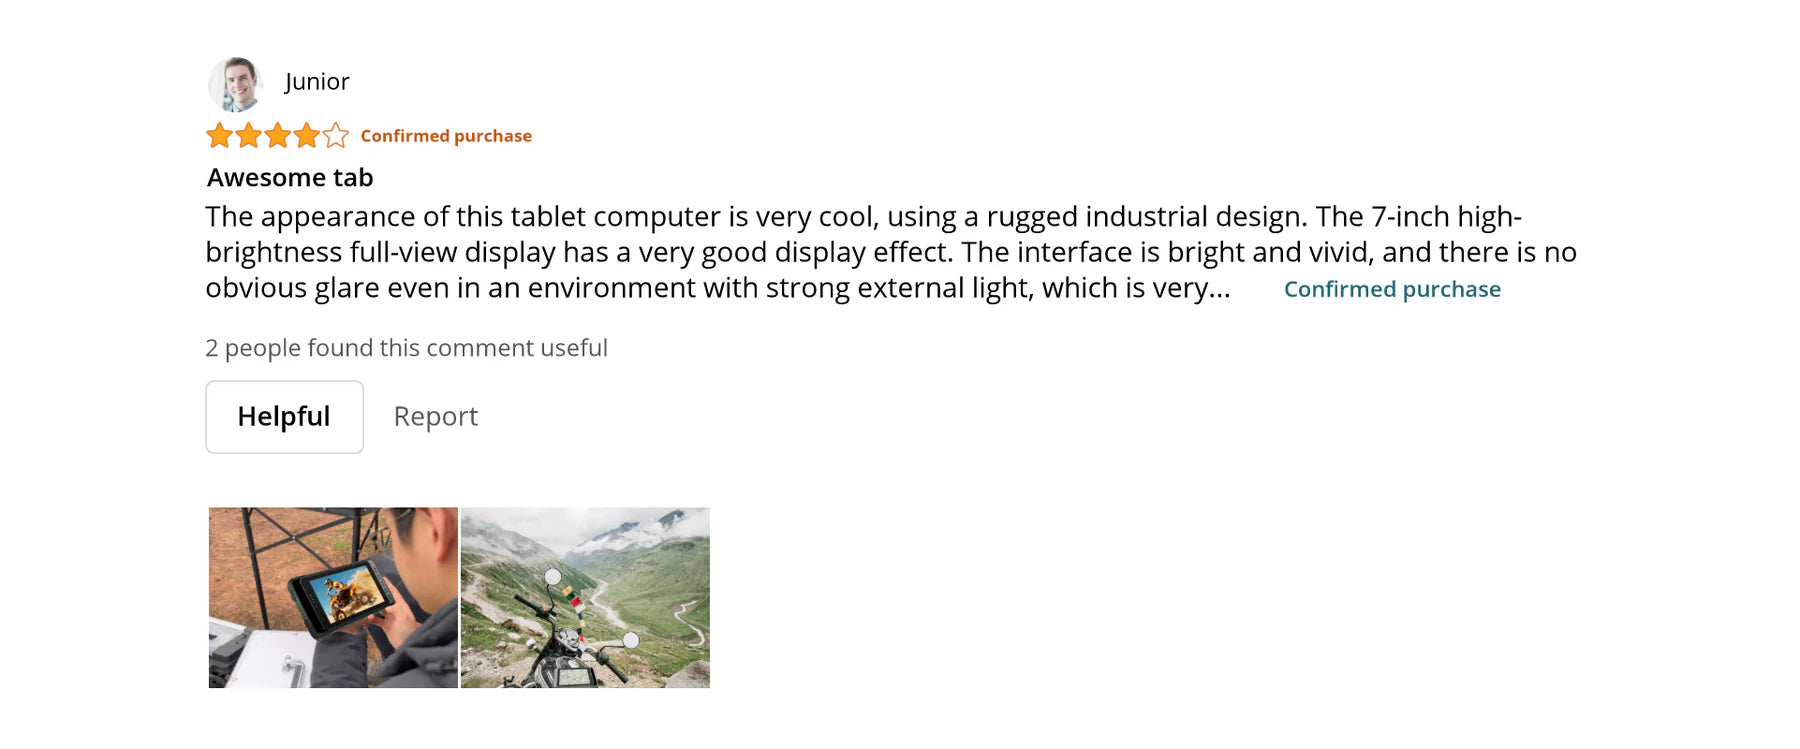
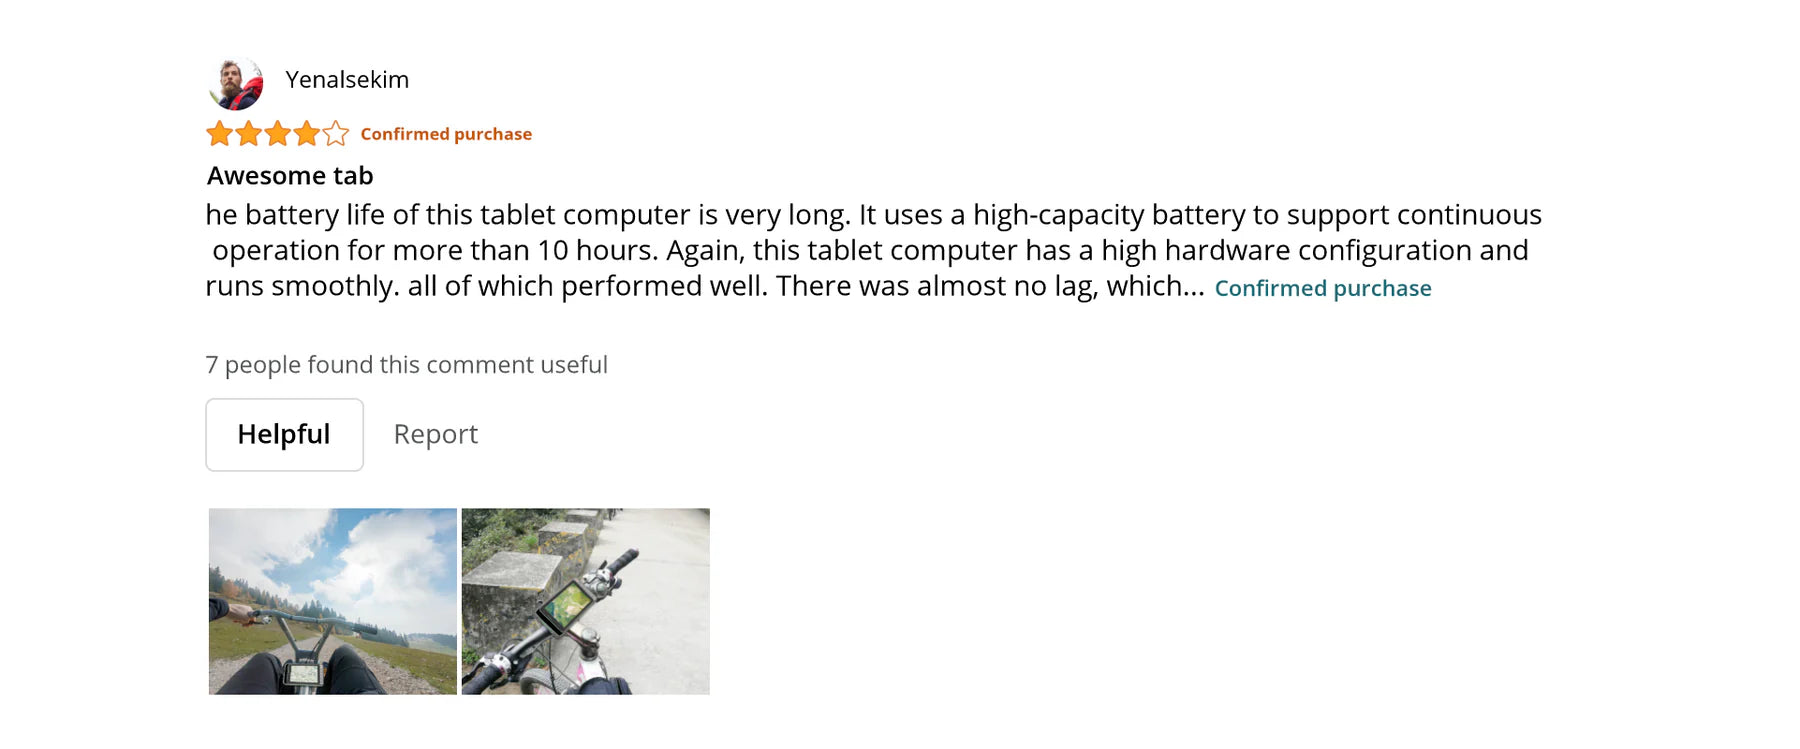
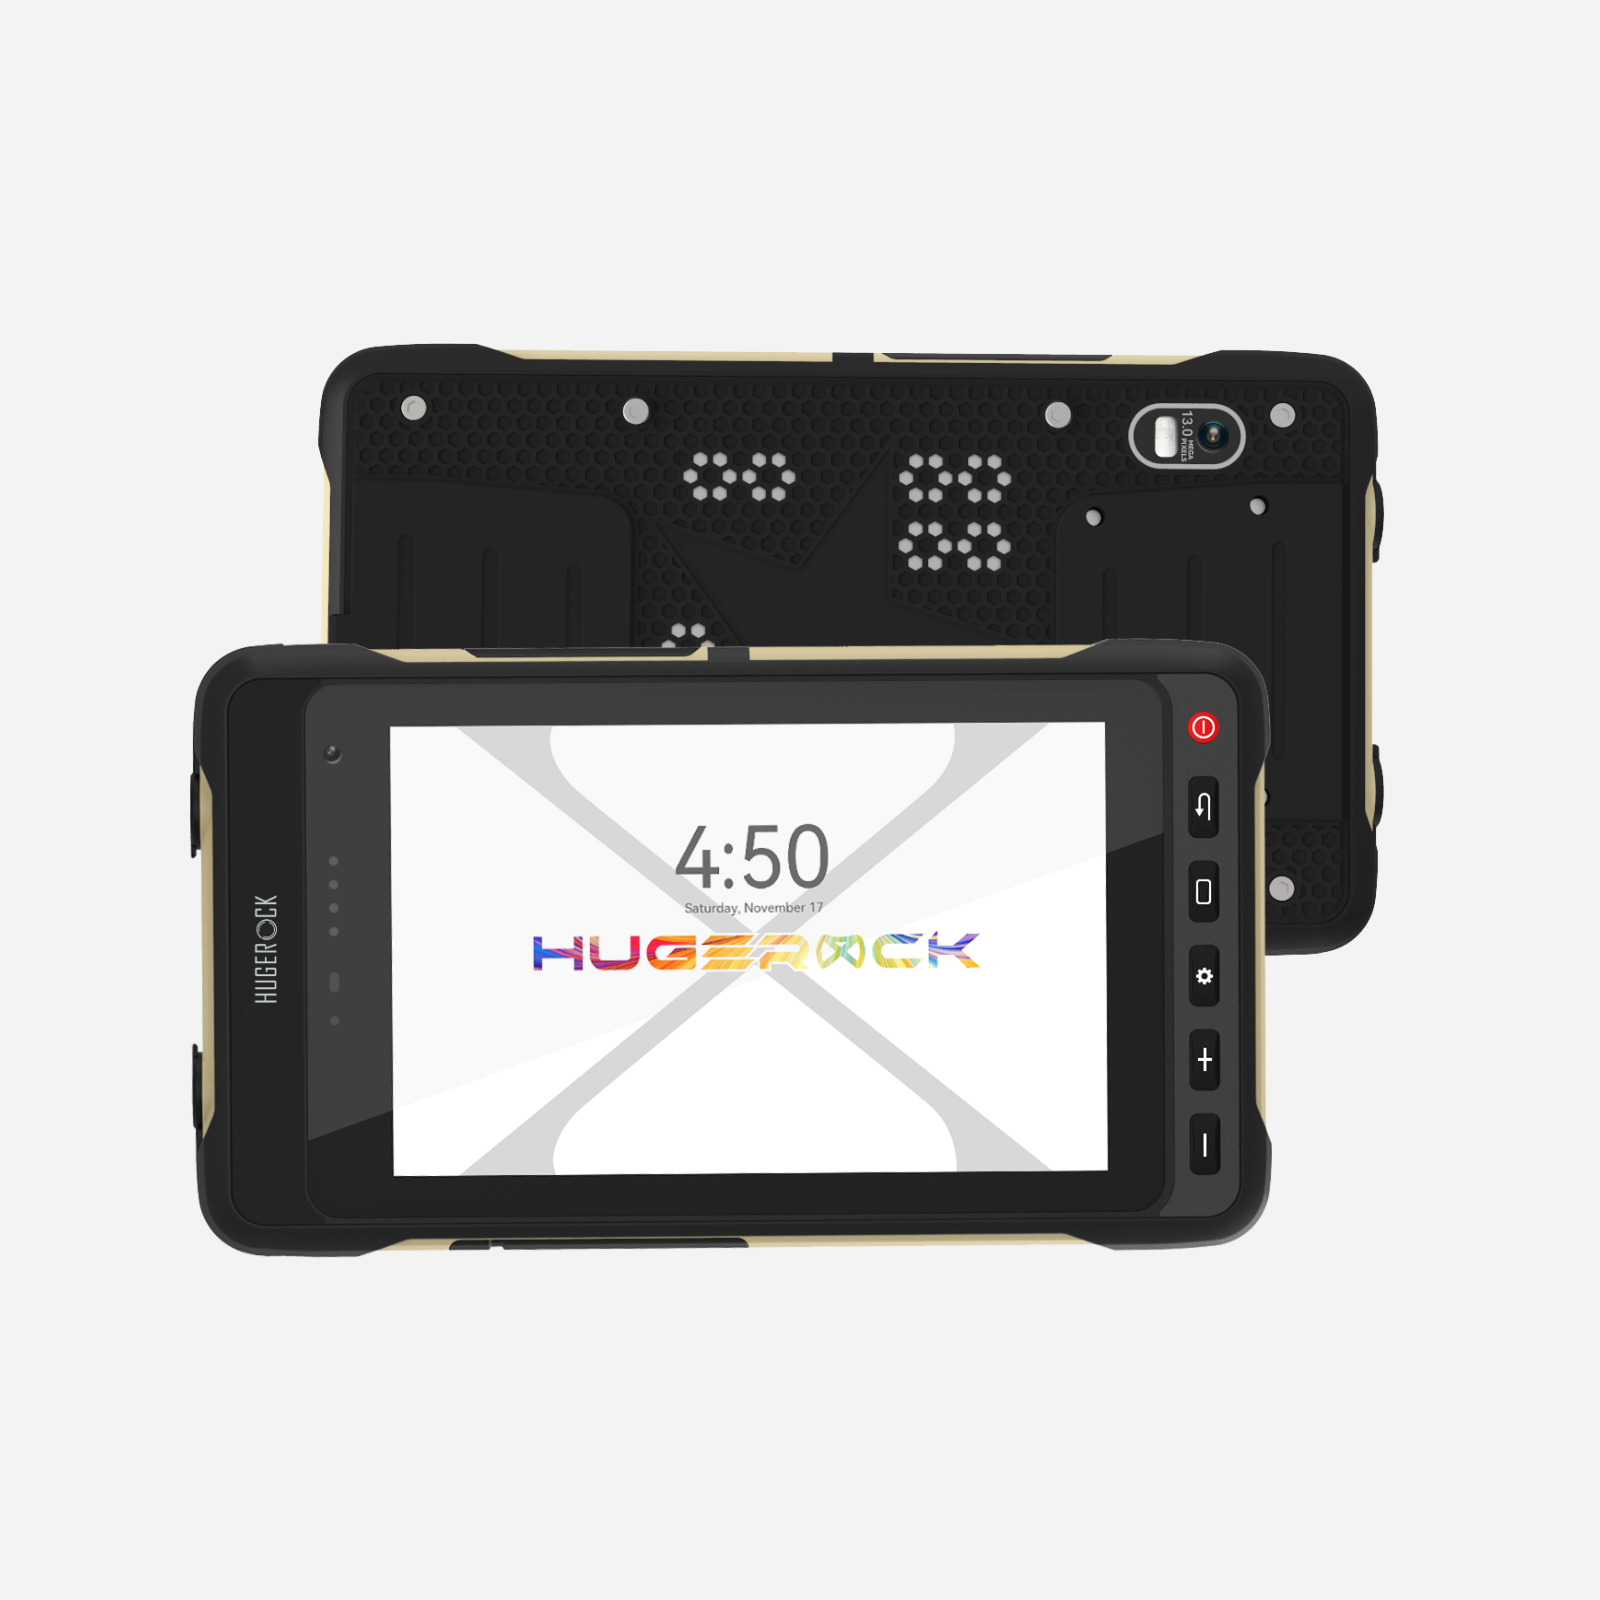
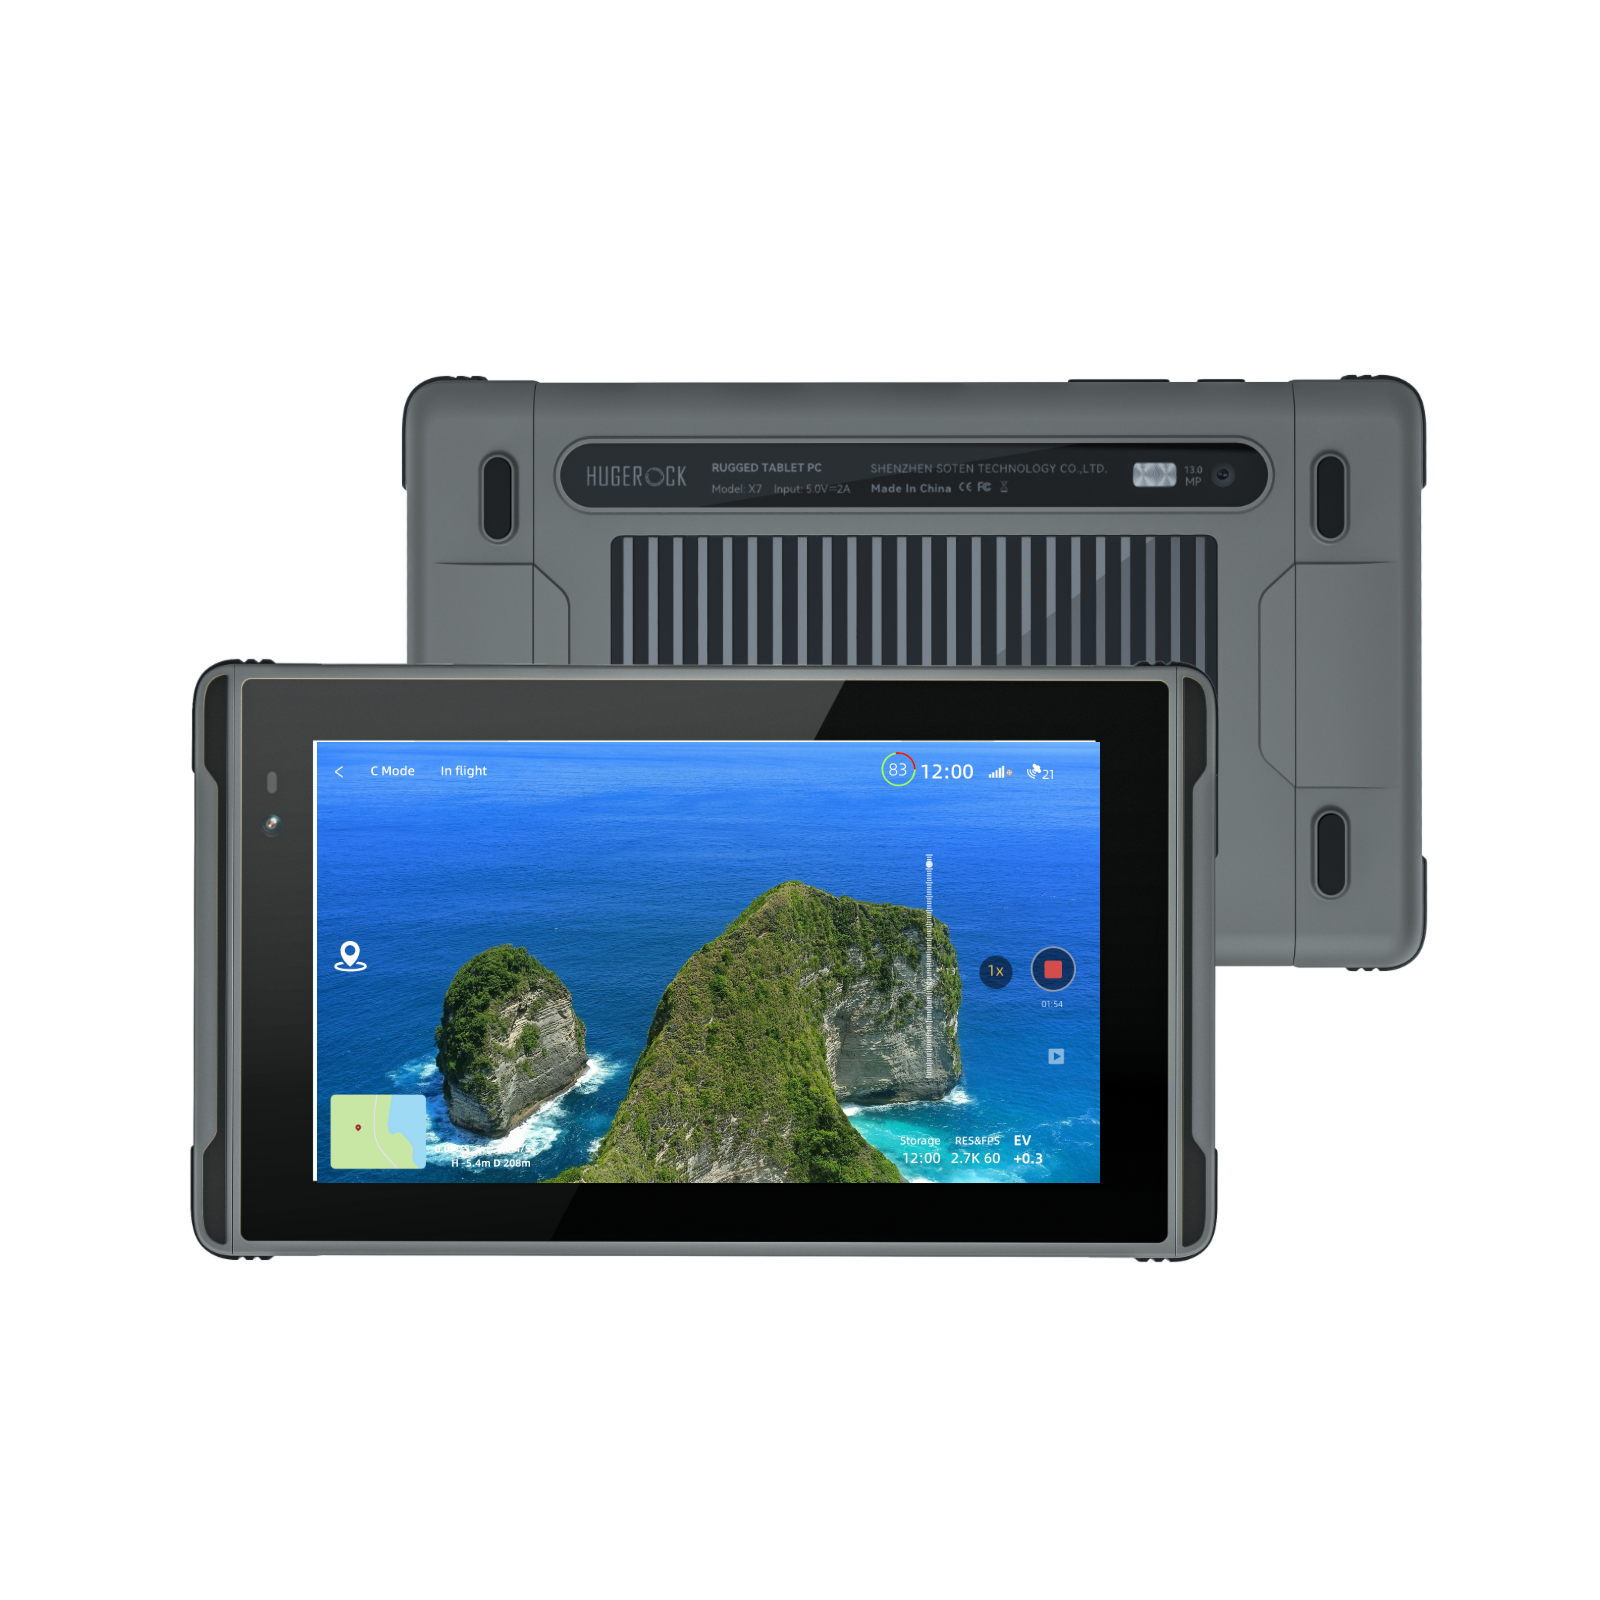
Here is the parameter comparison between X7 and X70. You can choose the appropriate one according to your usage scenario.
2600nit
2600nit
Yes
Yes
Yes
Yes
7 inch
7 inch
-10°C to 50°C
-10°C to 50°C
1920*1080
1920*1080
850g(Support Battery removal)
456g
IP67
IP68
10,000mAh
7,000mAh
Desert Yellow
Desert Yellow/Gray
UBLOX-M9N
Integrated
Multiple Charging Options: Dc, 4-pin,USB-C
Standard Charging via 8-pin/USB-C
With extra SMA ANTENNA port for enhanced connectivity.
Not support